
Monday, I was back on The Jason Show with some DIY Halloween Decor ideas. Let's start with these beautiful velvet pumpkins...

In case you haven't noticed, velvet pumpkins are all the rage this fall. But at around $20 a piece, decorating with these beauties can get expensive. I figured out a way to make them at home for a fraction of the price!
VELVET PUMPKINS
 |
| Start by cutting a circle out of a stretchy piece of velvet fabric. I found a black and a white fabric at JoAnn Fabrics for under $5/yard (they always have 40-50% off coupons online). You can make the circle as big or as small as you'd like, and don't worry about cutting the "perfect" circle (it doesn't matter - as you can see with the shape above). |
 |
| Using a "heavier duty" thread and sewing needle (longer needle for larger pumpkins), sew a "simple stitch" along the edge of the fabric. Again, don't worry too much about making it "pretty" (it won't matter). |
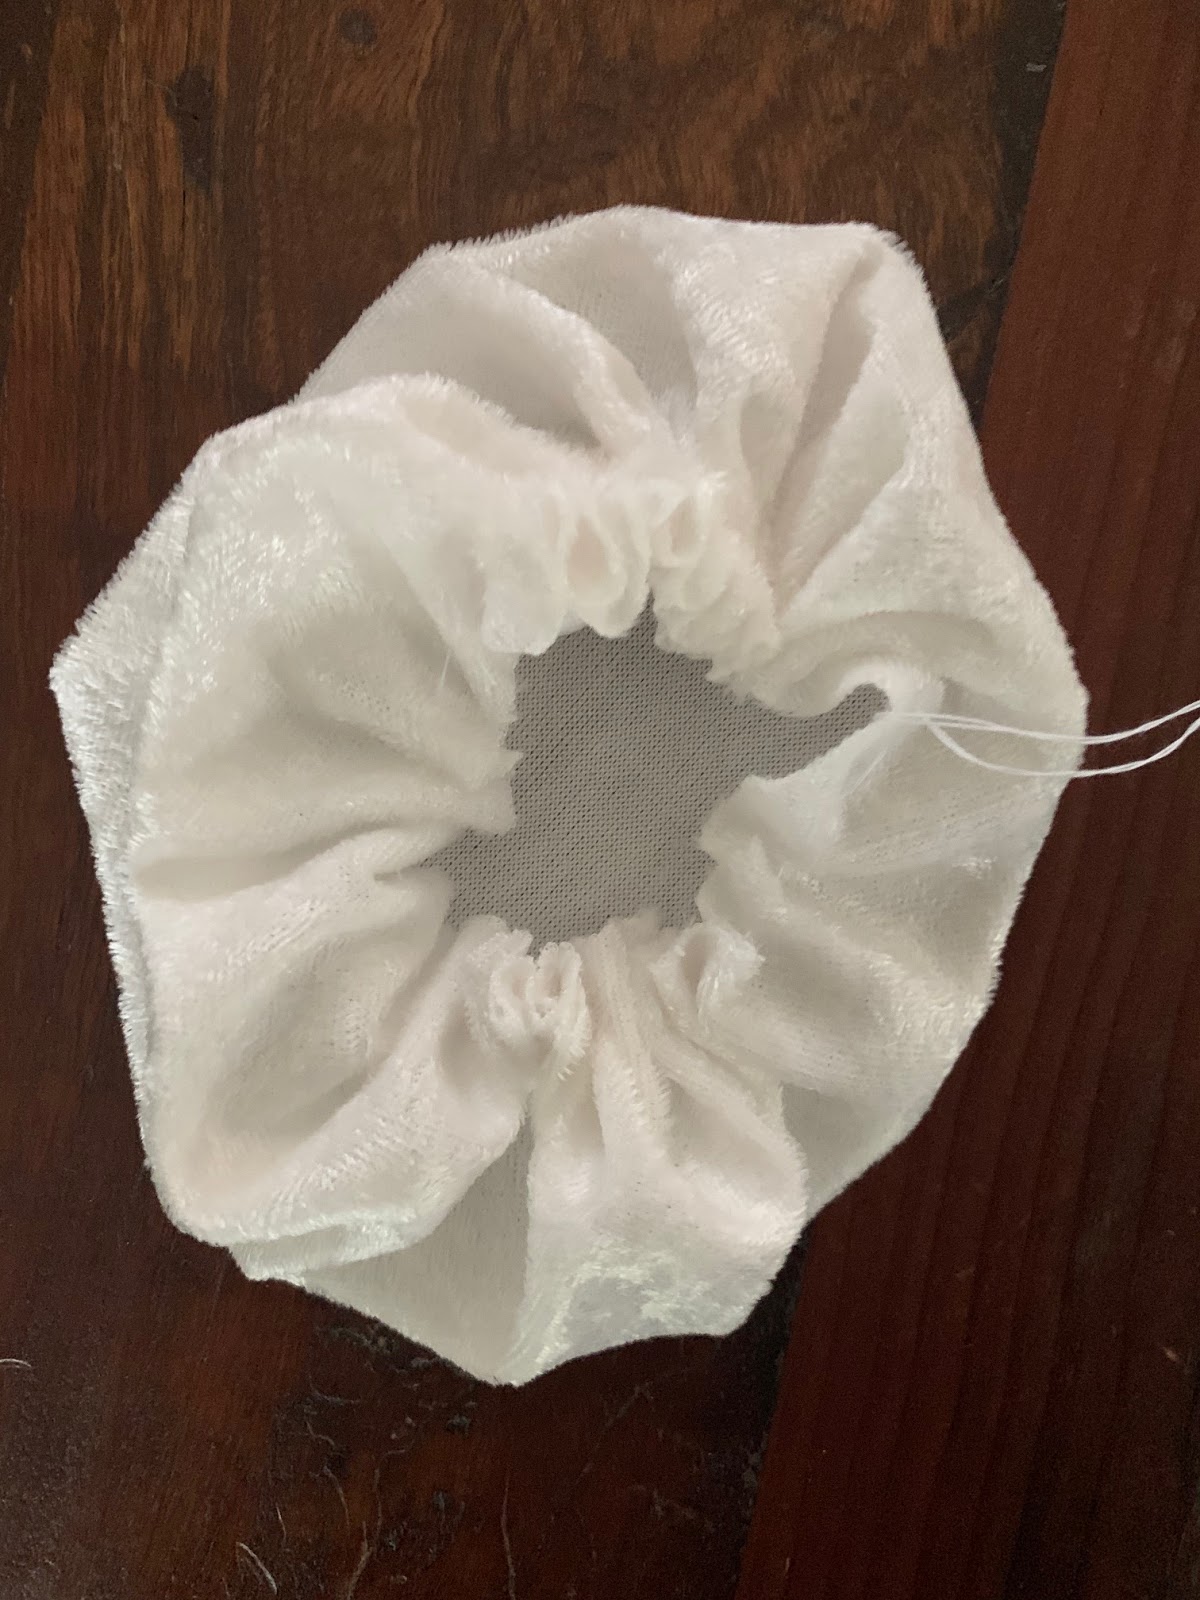 |
| Leave a space big enough to fill half of your pumpkin up with dry rice. Then, fill the rest of the pumpkin with a Poly-Fil. |
 |
 |
| Secure and close the hole with your needle and thread. |
 |
| Next, take your needle down the center of your pumpkin, and then back up through he bottom of your pumpkin. Do this a couple times to make sure it's secure. Then, super-glue a stem from a gourd/pumpkin in the center of the top. Ta dah! |

Give me ALL the concrete EVERYTHING! I love the look of concrete countertops, home-decor, and when I saw concrete pumpkins at a store for almost $50/piece... I knew I had to figure out a way to make them for less. With the help of my husband ("Papa Saigh"), we made these beauties for a little over $1 each!
Papa Saigh mixed up some concrete using a cement-mixer drill attachment to get the air bubbles out, and poured it into a plastic pumpkin that we found at Target for $1 (the kind that kids use to go trick-or-treating). Fill the pumpkin about 3/4 of the way full. Before the cement sets, take a mason jar and spray the outside with cooking spray, and gently set the mason jar into the cement in the plastic pumpkin. Let this dry for at least 48 hours. Remove the plastic pumpkin with a carpenter's knife (be careful!). Gently wriggle the mason jar out of the concrete, and fill that hole with candy, succulent, etc. (get creative!).
 |
| We found some small succulents at IKEA, and placed them in the concrete pumpkins to add some color to our fall table-scape. I added the DIY velvet pumpkins, antlers and candles to complete the look. The LOHALS Rug, birdcage, black feather, decorative balls, and decorative birds on the hutch are also from IKEA. We love shopping at IKEA for inexpensive home-decor that looks high-end. |
RUG LAYERING
 |
| I am obsessed with our new fall doormat by Oh Trendy Baby. They have tons of custom doormat options with super funny and cute sayings. I ordered a black and white buffalo plaid rug from Amazon, to add some layer and color to our front porch this fall. |
No comments:
Post a Comment